
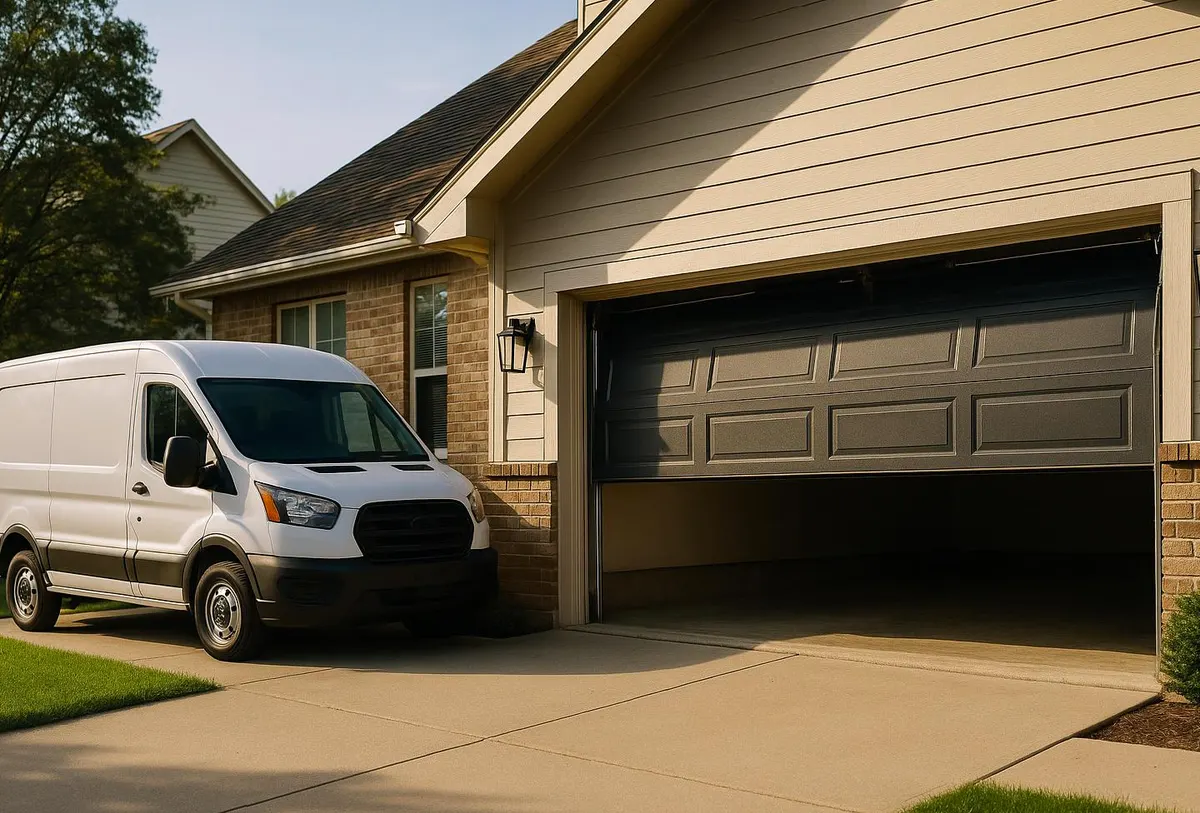
The moment you notice it
You're in the garage grabbing something off the shelf and the door is down, but there's a thin line of daylight glowing along the bottom edge. Or maybe it's not light — it's a draft on your ankles while you're working at a bench, a dusting of grit that keeps showing up on the floor no matter how often you sweep, or a trail of ants that seem to be coming from somewhere near the slab. All of these point to the same culprit: the rubber bottom seal (and sometimes the side and top weatherstripping) has cracked, flattened, or pulled loose from age and sun exposure.
This is one of the cheapest, most satisfying fixes in garage door maintenance. It's also one that matters more right now than it did a month ago — dry-season dust and wildfire smoke have been working their way through that gap all summer and fall, and once the winter rain starts, the same gap lets water track in under the door instead of just dust.
What you'll need
- Replacement bottom seal (vinyl bulb, T-style, or beaded style — matched to your door's existing track profile)
- Tape measure
- Utility knife or sharp box cutter
- Flathead screwdriver or small pry bar
- Shop vac or stiff broom
- Clean rag
- Silicone-based lubricant (not WD-40) for the track and rollers while you're in there
- Work gloves
Step-by-step: replacing the bottom seal
- Identify your seal type. Look at the aluminum retainer along the bottom edge of the door. Most are a T-shaped groove or a bulb-style channel. Bring a small cut sample to the hardware store or match it from a photo so you buy the right profile — the wrong shape won't seat in the track.
- Measure the full width of the door and buy a seal a few inches longer than that measurement; you'll trim the excess.
- Clear the track and the slab. Vacuum or sweep out built-up dust, pine needles, and old caulk residue. This is usually where the smell and the bug trail are coming from.
- Pry open the retaining track slightly with the flathead screwdriver at one end, then pull the old seal out by hand, working down the length of the door. It will likely come out in a crumbly, sun-baked mess — that's normal after years of UV exposure.
- Wipe out the channel with a rag so grit doesn't keep the new seal from sliding in cleanly.
- Feed the new seal in from one end, working it along the full width of the track. Go slow — forcing it can tear the vinyl.
- Trim the excess with the utility knife, leaving a small amount of overhang on each end rather than cutting it flush — garage doors expand and contract slightly with temperature, and a seal cut too tight will pull loose again.
- Close the door and check contact. Walk the full width from outside and look for any spots where the seal isn't touching the slab evenly. A gap on one side usually means the door itself isn't sitting level.
- While you're at it, check side and top weatherstripping. Press any adhesive-backed strips firmly along their full length — heat causes the adhesive to let go at the edges first.
What's reasonable to handle yourself
Replacing the bottom seal, side seals, and top weatherstripping is well within reach for most homeowners with an afternoon and basic tools. It's inexpensive, low-risk, and the kind of job that pays for itself the first time it keeps rain or dust out of the garage.
Where it's time to call a technician
If the new seal won't sit flush no matter how you adjust it, the problem usually isn't the seal — it's the door. A few signs that point to something bigger:
- The gap is only on one side or one corner, which usually means the door is out of balance (a spring issue, not a seal issue).
- The slab itself is uneven or sloped, which may call for a threshold seal rather than relying on the bottom seal alone — this is especially common in older homes where foundation work or earthquake retrofits have shifted the garage opening slightly out of square.
- The track is bent or the panel is warped, which no amount of new weatherstripping will fix.
- The door feels heavier to lift or close than it used to — that's a spring problem, and springs under tension are not a DIY repair.
When to call Los Angeles Overhead Door Co
If you've replaced the seal and still see daylight, feel resistance when the door closes, or notice it's sitting unevenly, it's worth having it looked at rather than guessing. Our Garage Door Maintenance visits check door balance, track alignment, and roller condition along with the weatherstripping, so you're not just patching the symptom. If the issue turns out to be a sagging panel, bent track, or worn springs, that falls under Garage Door Repair, and we'll walk you through what's actually needed before any work starts.
Before the winter rain sets in, get your seals and your door checked out. Call Los Angeles Overhead Door Co and we'll have someone out to look at it in Los Angeles, CA.